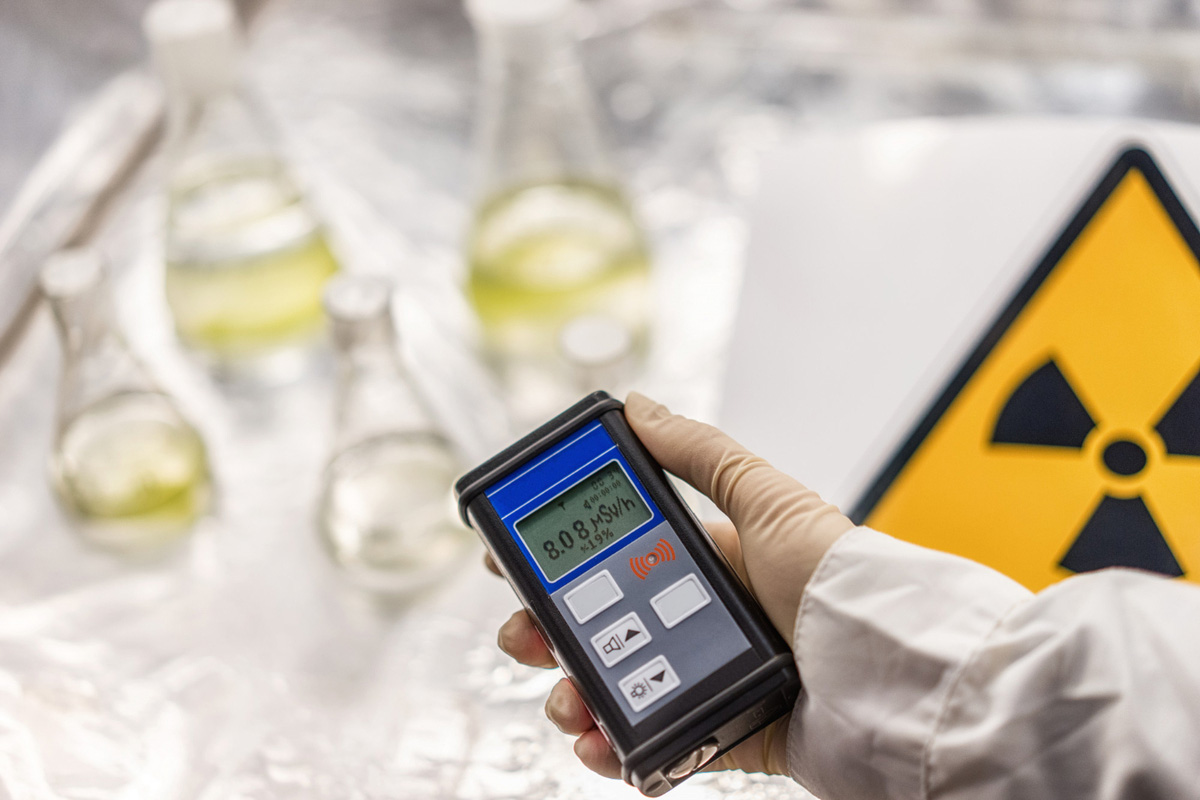
Did you ever help your chum move into a lovely house and, after a few months, found a health hazard hiding there? The health hazard we are referring to is radon, and its sudden and surprise discovery is not uncommon. Sometimes the new owner of a home keeps postponing a radon test for months, which ends up finding high amounts of this invisible gas upon testing. A nightmare revelation, indeed.
That is why testing for radon in home isn’t just a checkbox. It’s a crucial step many skip, much to their dismay. In this blog, we highlight the importance of radon testing and explain how and where to place radon detector at home for optimal results.
Why It Matters: It’s More Than a Test
Radon is colorless, invisible, and odorless. It is the second leading cause of lung cancer in the country, claiming between 15,000 to 22,000 lives annually.
Despite its obvious dangers, 75% of Americans have not tested their homes for radon. The DIY kits and affordable professional testing are easier and more accessible than ever. Therefore, there should be no reason to skip it.
Radon Testing in Homes: The Right Places
Let us learn where and how to conduct radon testing at home.
1. Start Down: But Where You Live and Breathe
The EPA advises placing your radon detector in the lowest level of your home, preferably in a room where you spend at least four hours a day, such as a playroom, living room, bedroom, or den.
If you frequently use your basement as a home office or playroom, test it there. Otherwise, you must test the primary level that you use the most.
2. Stay in the Breathing Zone – Not Too High or Too Low
You want to test the air you actually breathe, not the stale air at the floor or the warmer pocket at the top. According to experts, a detector should be mounted 2 to 6 feet off the floor, about bedside table height.
3. Choose a Spot that is not so Crowded
- On a horizontal interior surface, such as a shelf, dresser, or end table.
- At least 1 foot from exterior walls and 3 feet from windows or doors to prevent drafts impacting outcomes.
- Away from sunlight, vents, fans, electrical devices, heat, and humid places, such as bathrooms, kitchens, and others.
- Where pets or children cannot move it, and naughty children will not disturb it during the testing course.
4. Don’t Scrimp on Testing, Test Smartly
In most homes, at least two detectors are required: one in the living room and one in a bedroom on the lower level.
When you do have a basement, test it and a ground-floor room not immediately above the cellar, as radon concentration may vary depending on the type of foundation.
Large homes or extensions? Install detectors in both new and old areas, and consider placing one every 2,000 square feet to cover the area effectively.
The Smart Thinking: Testing Confidently
Here’s a quick checklist:
Do:
- Test the lowest level of your house where you live and spend time.
- Position 2-6 feet above the drafts and the walls.
- Use several detectors to increase coverage.
- Follow the directions provided in the kit or hire a professional.
Avoid:
- Kitchens, bathrooms, closets, crawl spaces, or empty spaces.
- Radiators, electronics, on windowsills.
- Moving the device mid-test.
People Are Talking
Here’s a helpful snippet from Reddit:
“Place the device near an interior wall at a height of 3 to 6.5 feet… at least 20 inches from the floor… and about 16 inches from an interior wall… avoid bathrooms, kitchens… or near heating vents.”
And another user noted:
“20 inches from the floor… 12 inches from exterior walls… best spot is your nightstand… near head height.”
These tips echo the official guidance but feel more conversational—just what you’d hear from a friend.
Adding Facts That Count
- The average radon level in an American home is 1.3 pCi/L.
- When levels reach 4 pCi/L or higher, then, according to the EPA, a radon mitigation system should be installed. Even the 2-4 pCi/L warrant measures for mitigation.
- Risks of radon may vary over time. Test some months even after mitigation or after the next few years.
Bringing It All Together
Testing for radon in the home doesn’t have to be a chore. A few preparations, two detectors, and the correct location can help you move in the right direction toward a healthier home.
You can start from the rooms where you live, follow the “don’ts,” and keep it simple and real. You will safeguard your health, and your lungs will thank you later.
Clatterbuck Home Inspections is here to help you with radon testing, even when you’re unsure where to start and want professional inspectors to guide you. Whether you are selling, buying, or renovating your home, we recommend having radon tests to be on the safe side. Contact us now, as solid information backed by action can outwit surprises any day.

